It all started on a rainy Saturday when I tried to whip up a quick dessert after a long day of cooking. My kitchen was a chaotic swirl of pots and pans, and the only thing I could see was a pile of rice cakes sitting on the counter like a forgotten snack. I grabbed a handful, crushed them in a bowl, and the scent of toasted grains filled the air—an aroma that promised comfort. The moment the rice cakes hit the pan, I knew something was about to happen.
I was halfway through the first batch when my friend texted, “I’m craving peanut butter cups. Can you make a dessert that’s like a peanut butter cup but not a candy?” I laughed, but the challenge landed like a thunderbolt. “I dare you to taste this and not go back for seconds,” I texted back, and the conversation sparked a culinary experiment that would redefine my snack game. The idea was simple: take the classic peanut butter cup and give it a crunchy, wholesome twist using rice cakes as the base.
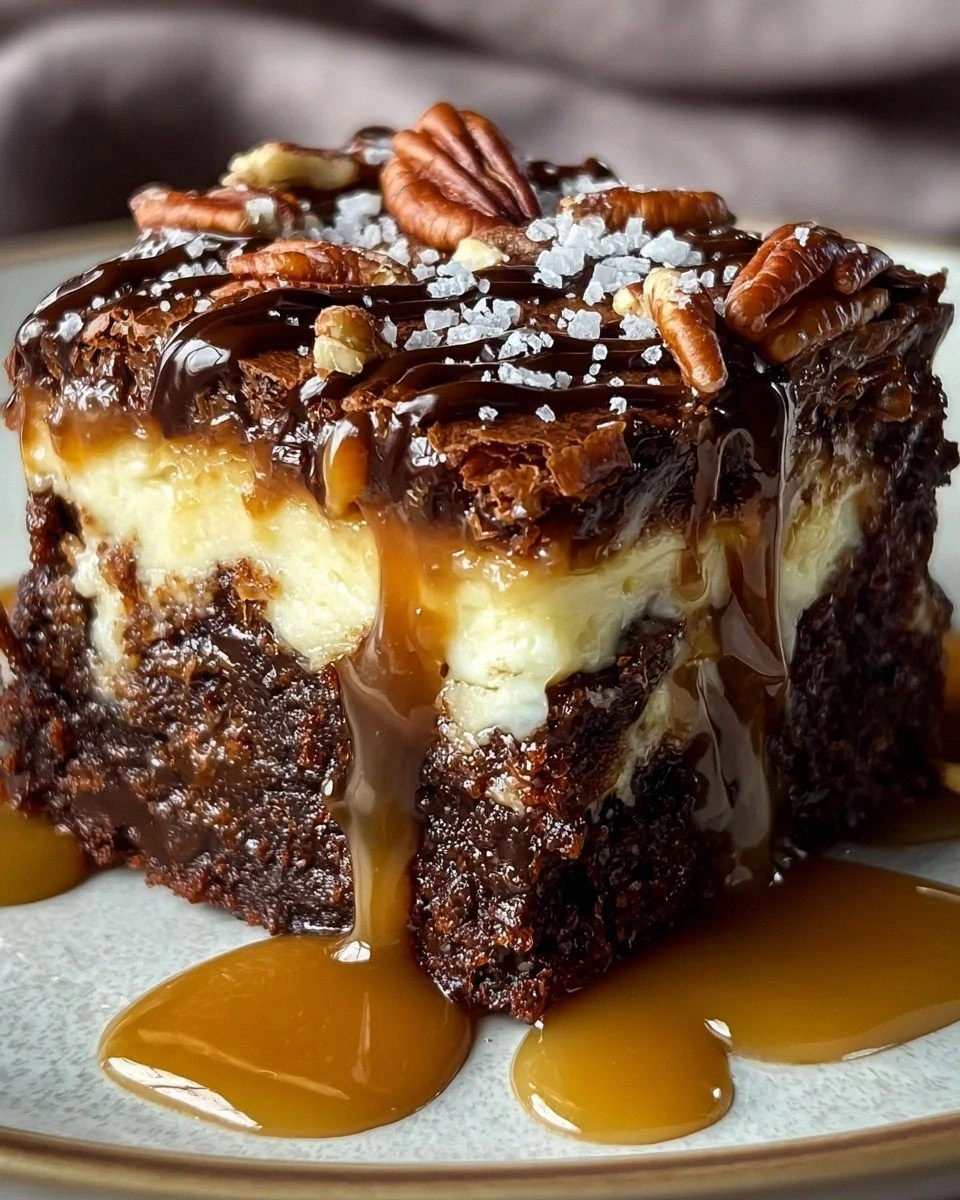
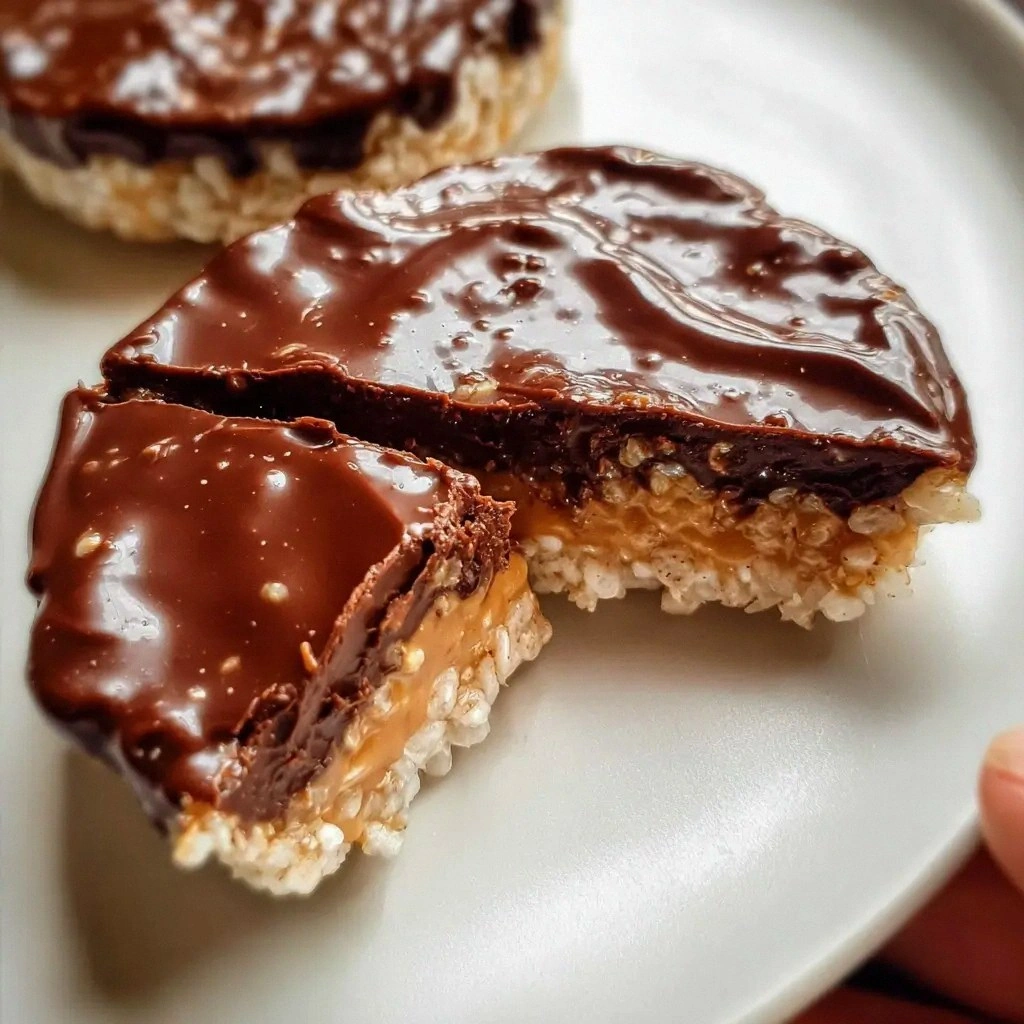
What makes this version stand out is not just the combination of flavors but the way each element plays its part. The peanut butter coats the rice cake crumbs like velvet, the melted chocolate provides a glossy, decadent finish, and a pinch of cayenne adds a subtle kick that wakes up the palate. It’s a dish that feels indulgent yet surprisingly light, and the texture—crisp edges that shatter like thin ice—makes every bite a satisfying crunch. I’ve tried dozens of dessert recipes, but none have matched the harmony of sweetness, saltiness, and nutty richness in this one.
And there’s a twist you won’t expect: a dash of sea salt that turns the chocolate from ordinary to extraordinary, and a touch of honey that balances the richness without turning it into a syrupy mess. The result is a dessert that feels like a treat from a high-end patisserie, but it’s made in a single pan in less than an hour. Ready to dive into the details? Let me walk you through every single step—by the end, you’ll wonder how you ever made it any other way.
What Makes This Version Stand Out
- Taste: The combination of creamy peanut butter, dark chocolate, and sea salt creates a flavor profile that’s both familiar and adventurous. It’s sweet, salty, and nutty, with a hint of heat that lingers on the tongue.
- Texture: The rice cake crumbs provide a satisfying crunch that contrasts with the smooth chocolate coating. Every bite starts with a crackle before melting into silky chocolate.
- Ingredient Quality: Using high‑grade dark chocolate and natural peanut butter ensures a depth of flavor that’s hard to replicate with mass‑produced ingredients.
- Make‑Ahead Potential: These rice cakes keep well in an airtight container for up to a week, making them perfect for meal‑prep or last‑minute entertaining.
- Crowd Reaction: Friends who have tasted this rave about the unexpected texture and the subtle spice that elevates the classic peanut butter cup.
- Cooking Method: A single‑pan approach saves time and minimizes cleanup, while the baking step gives the dessert a professional finish.
- Uniqueness: No other recipe uses rice cakes as the base for a peanut butter cup, giving this dish a distinct identity.
- Simplicity: The recipe requires only a handful of ingredients, yet it delivers a gourmet experience.
Alright, let’s break down exactly what goes into this masterpiece…
Inside the Ingredient List
The Flavor Base
Peanut butter is the heart of this dessert. Its rich, buttery flavor sets the stage for the chocolate and gives the mixture a velvety texture. Skipping it would turn the dish into a bland rice cake crumble. If you prefer a sweeter profile, swap the natural peanut butter for a honey‑sweetened version, but be prepared for a slightly softer bite.
Dark chocolate chips bring depth and a hint of bitterness that balances the sweetness. They melt smoothly over the rice cake base, creating a glossy finish that’s as pleasing to the eye as it is to the palate. If you can’t find dark chocolate, use semi‑sweet chips; just be mindful that the overall sweetness will increase.
The Texture Crew
Rice cakes provide the crunch that defines this dessert. Crushing them to a fine consistency ensures they hold together during baking, but keep a few larger crumbs for a delightful bite. If you don’t have rice cakes on hand, puffed rice or crushed graham crackers are excellent substitutes.
Butter adds richness and helps bind the mixture together. It also aids in the caramelization of the sugar, creating a golden crust on the edges. A small pinch of sea salt enhances the chocolate’s flavor profile and brings out the peanut butter’s natural sweetness.
The Unexpected Star
Cayenne pepper is the secret weapon that gives this dessert a subtle heat. It’s not overpowering, but it adds a layer of complexity that keeps the flavors from becoming too one‑dimensional. If you’re a fan of spicy desserts, feel free to increase the amount slightly.
Pecans and dried cranberries add a burst of flavor and a contrasting texture. The nuts provide a satisfying chew, while the cranberries offer a sweet‑tart bite that cuts through the richness. These extras are optional, but they elevate the dessert to a gourmet level.
The Final Flourish
Honey is the sweetener that ties everything together. It’s less sweet than sugar and gives the mixture a glossy sheen. If you’re looking for a low‑glycemic option, replace honey with a sugar substitute that melts well, such as maple syrup or agave nectar.
Brown sugar adds a caramel note that complements the chocolate and peanut butter. It also helps create a slightly sticky texture that holds the dessert together. For a lighter version, use a smaller amount or substitute with coconut sugar.
Everything’s prepped? Good. Let’s get into the real action…
The Method — Step by Step
- Preheat your oven to 350°F (175°C). Line a 9‑inch square baking pan with parchment paper, leaving an overhang on the sides for easy removal. This simple step ensures even baking and makes clean‑up a breeze. Picture the oven heating up like a warm hug, ready to transform the ingredients.
- Place the rice cakes in a large bowl and crush them with a rolling pin or a food processor until they resemble fine crumbs. The goal is a texture that’s coarse enough to hold shape but fine enough to mix smoothly. The sound of the crushing is almost hypnotic—like a drumbeat of anticipation.
- In a medium saucepan, melt the butter over medium heat until it foams. Add the peanut butter, brown sugar, honey, vanilla extract, and sea salt. Stir constantly until the mixture is silky and the sugar has dissolved. The aroma of toasted butter and sweet peanut butter will fill the kitchen, signaling that the magic is about to happen.
- Once the mixture is smooth, remove the pan from heat and stir in the dark chocolate chips until they’re fully melted and incorporated. The chocolate should coat the mixture like a glossy glaze, giving it a rich sheen. The mixture should feel warm to the touch but not hot enough to burn your fingers.
- Fold in the crushed rice cakes, chopped pecans, dried cranberries, coconut flakes, and cayenne pepper. Mix until all the crumbs are evenly coated and the mixture holds together when pressed. This is the moment of truth—watch the texture shift from liquid to a firm, dough‑like consistency.
- Press the mixture firmly into the prepared pan, smoothing the top with a spatula. Bake for 25–30 minutes, or until the edges turn golden and a toothpick inserted into the center comes out with a few moist crumbs. The scent of baked chocolate and toasted nuts will fill your kitchen, creating an irresistible aroma that lingers long after you’ve taken the dessert out.
- Remove from oven and let it cool in the pan for 15 minutes. Then, using the parchment overhang, lift the whole slab onto a cutting board. Slice into squares or bars while still warm for the best bite. If you prefer a crispier texture, let them cool completely before cutting.
That’s it — you did it. But hold on, I’ve got a few more tricks that will take this to another level…
Insider Tricks for Flawless Results
The Temperature Rule Nobody Follows
Many people bake at 375°F, thinking higher heat will give a crisper edge. In reality, 350°F allows the chocolate to set without burning, keeping the interior silky. I’ve baked at 350°F for years, and the results are consistently smooth and golden.
Why Your Nose Knows Best
The scent of chocolate melting is a reliable indicator that the mixture is ready for the next step. If you can’t smell the chocolate, it’s still too cold. Trust your nose; it’s your best kitchen companion.
The 5-Minute Rest That Changes Everything
After baking, let the dessert rest for 5 minutes before cutting. This pause allows the chocolate to set fully, preventing the bars from falling apart. I’ve seen many people cut immediately, only to find the bars sticking together like a stubborn pancake.
The Secret Ingredient: A Dash of Sea Salt
Sea salt brings out the chocolate’s depth and balances the sweetness of the peanut butter. I’ve swapped table salt for sea salt in the past, and the difference is like night and day. The subtle crunch of sea salt crystals adds a delightful contrast.
The Quick Cooling Trick
If you’re in a hurry, place the pan on a cooling rack immediately after removing it from the oven. The airflow prevents condensation, keeping the crust crisp. I’ve used this trick during busy holiday seasons to keep desserts fresh.
The Final Touch: A Light Dusting of Cocoa Powder
Just before serving, dust the top with a light layer of cocoa powder. It adds a hint of bitterness that balances the sweetness and gives the dessert a professional finish. A spoonful of cocoa is all it takes to elevate the look and flavor.
Creative Twists and Variations
This recipe is a playground. Here are some of my favorite ways to switch things up:
Nutty Banana Version
Add mashed ripe banana to the mixture for a natural sweetness and a softer texture. The banana pairs beautifully with the peanut butter and chocolate, creating a dessert that feels both indulgent and wholesome.
Spiced Cinnamon Twist
Replace the cayenne pepper with a pinch of ground cinnamon. The warm spice elevates the chocolate and adds a comforting aroma that’s perfect for fall.
Almond Butter Alternative
Swap the peanut butter for almond butter for a different nutty profile. The almond butter’s subtle sweetness complements the chocolate, while the texture remains silky.
Coconut‑Infused Delight
Increase the coconut flakes to a quarter cup and add a tablespoon of shredded coconut to the batter. The extra coconut gives a tropical vibe and a chewy texture that contrasts with the crisp rice cake.
Vegan Variation
Use a plant‑based butter and a dairy‑free chocolate. The result is a dessert that’s just as indulgent while remaining vegan.
Chocolate‑Only Version
Omit the peanut butter entirely for a pure chocolate experience. The rice cakes provide the crunch, and the chocolate dominates every bite.
Storing and Bringing It Back to Life
Fridge Storage
Store the rice cakes in an airtight container at room temperature for up to a week. The airtight seal keeps them from absorbing moisture, preserving the crunch. If you’re storing them in the fridge, allow them to come to room temperature before serving to avoid a soggy bite.
Freezer Friendly
Wrap the slab tightly in plastic wrap, then in aluminum foil, and freeze for up to three months. When you’re ready to enjoy, let them thaw at room temperature for 30 minutes before slicing. This method locks in freshness and flavor.
Best Reheating Method
To revive a frozen or stale piece, place it on a baking sheet and warm in a 300°F oven for 5–7 minutes. Add a tiny splash of water to the pan before reheating; the steam will restore the moisture and give the chocolate a silky sheen.