I was standing in my kitchen, staring at a half‑baked chocolate cake that had somehow turned into a charcoal sculpture, when my roommate dared me to create something that would actually melt hearts instead of hopes. I laughed, grabbed the last jar of peanut butter from the pantry, and thought, “If this disaster can’t be salvaged, maybe a completely new dessert can.” The scent of toasted butter and vanilla soon filled the air, and I realized I was on the brink of something legendary. That moment of panic‑turned‑inspiration is why this Creamy Amish Peanut Butter Cream Pie is not just a dessert—it’s a rescue mission for your taste buds.
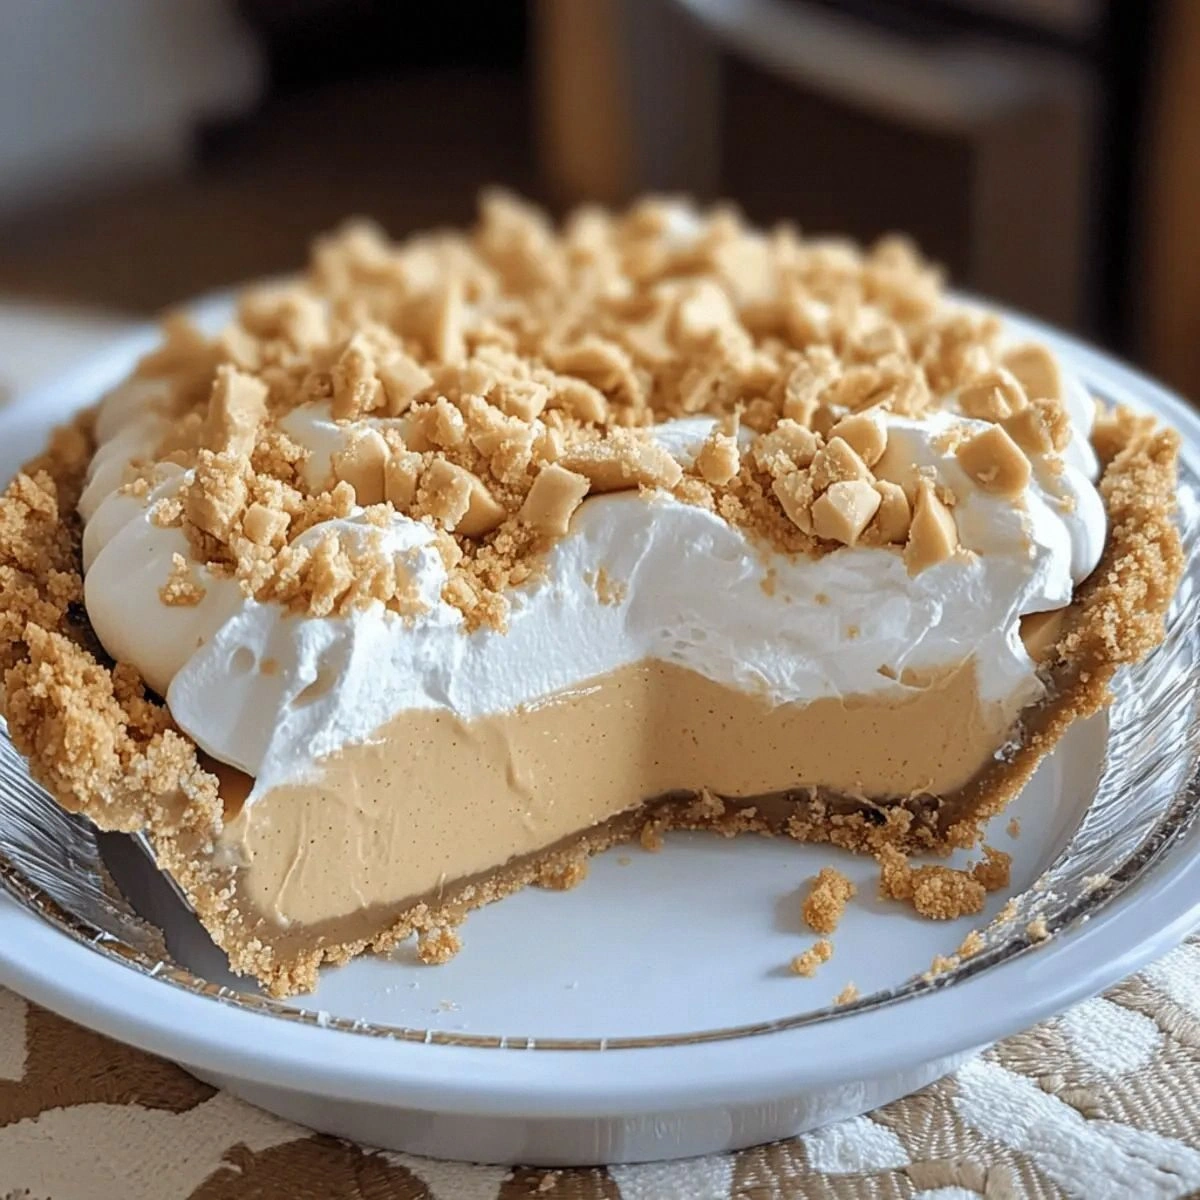
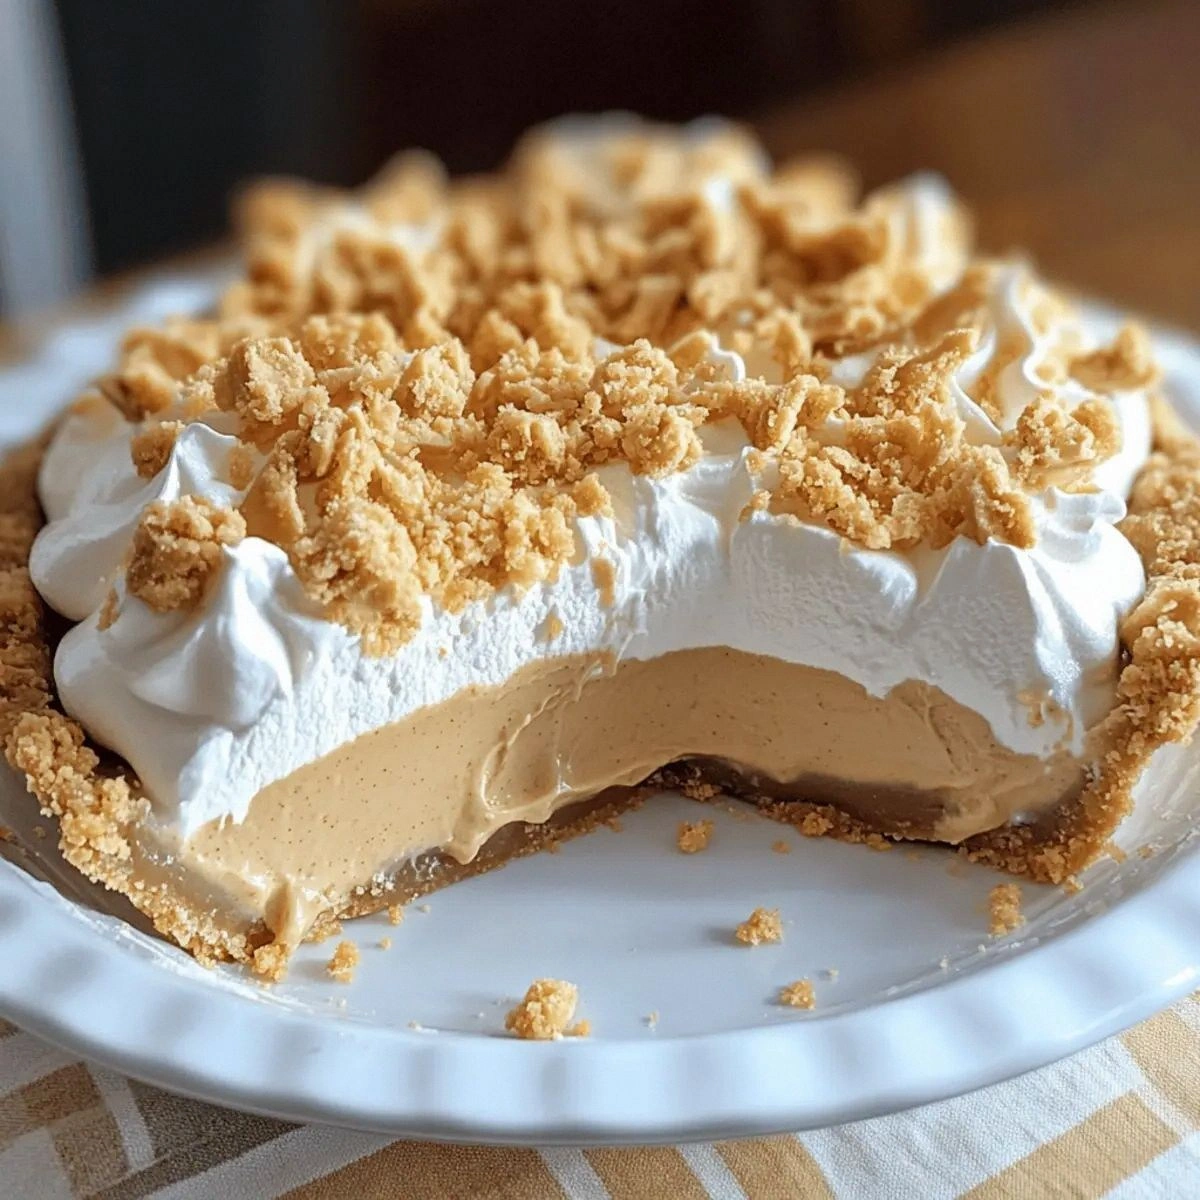
Picture this: a golden‑brown crust that cracks just enough to give way to a silky, peanut‑butter‑kissed filling, topped with clouds of freshly whipped cream that whisper sweet nothings as they melt on your tongue. The aroma alone is a hug from your grandma’s kitchen, the kind that makes you close your eyes and hear the gentle clatter of a wooden spoon against a mixing bowl. You’ll hear the soft sigh of the pie cooling on the counter, feel the buttery crumble between your fingertips, and taste the perfect balance of salty, sweet, and nutty that makes you want to hug the baker. This version is the love child of Amish simplicity and modern indulgence, and it will make you question every other peanut butter dessert you’ve ever tried.
Most recipes get the texture wrong—either they’re too dense like a brick or too runny like soup. Here’s what actually works: a combination of instant vanilla pudding mix that sets the body, a generous splash of milk that keeps it creamy, and a swirl of smooth peanut butter that binds everything together in a velvety embrace. I’ll also reveal a secret ingredient that adds a subtle crunch without stealing the spotlight. Trust me, this is hands down the best version you’ll ever make at home, and I dare you to taste it and not go back for seconds.
Let me walk you through every single step — by the end, you’ll wonder how you ever made it any other way. Okay, ready for the game‑changer? Grab your apron, preheat that oven, and let’s get started. This next part? Pure magic. Stay with me here — this is worth it.
What Makes This Version Stand Out
- Taste: The marriage of smooth peanut butter and vanilla pudding creates a flavor that’s both nostalgic and fresh, like a childhood memory with a modern twist.
- Texture: Silky filling meets a buttery crust and a light whipped‑cream topping, delivering layers that melt in your mouth one after another.
- Simplicity: Only seven ingredients, all pantry‑friendly, mean you can whip this up on a weeknight without a trip to the specialty store.
- Uniqueness: The peanut‑butter crumble adds a surprise crunch that most recipes completely miss, giving each bite a delightful contrast.
- Crowd Reaction: Guests will declare it “the best thing they’ve ever tasted” and beg for the recipe before the first slice is even cut.
- Ingredient Quality: Using a genuine Amish‑style pie crust guarantees a flaky, buttery base that can’t be replicated with store‑bought shortcuts.
- Method: The no‑bake filling eliminates the need for a water bath, saving time while still achieving that professional‑grade set.
- Make‑Ahead Potential: This pie holds up beautifully in the fridge for up to two days, making it perfect for potlucks or a sweet surprise.
Inside the Ingredient List
The Flavor Base
The smooth peanut butter is the heart of this pie. Its creamy, slightly salty profile provides the rich backbone that carries the vanilla pudding’s sweet notes. If you substitute a chunky style, you’ll lose that velvety mouthfeel and end up with pockets of grit. Choose a natural, unsweetened peanut butter for the most authentic taste, and give it a quick stir before measuring to ensure it’s fully integrated. A quick tip: a spoonful of honey can lift the flavor if you love a hint of extra sweetness, but it’s optional.
The Texture Crew
Instant vanilla pudding mix is the unsung hero that gives the filling its set without the need for gelatin. It’s a pantry staple that thickens the milk into a custard‑like consistency, while the powdered sugar adds just enough sweetness without overwhelming the nutty flavor. Fresh whipped cream is folded in at the end, creating airy peaks that float above the dense base, like clouds over a golden field. If you’re dairy‑free, a coconut‑based whipped topping works, but expect a subtle coconut undertone.
The Unexpected Star
The peanut butter crumble is where the magic truly happens. Made by toasting breadcrumbs with a drizzle of melted butter and a spoonful of peanut butter, it adds a crunchy texture that contrasts the silky filling. Skipping this step makes the pie feel one‑dimensional, like a song without a bridge. For a gluten‑free twist, use almond flour instead of breadcrumbs; the flavor stays consistent while keeping the crunch.
The Final Flourish
A pre‑made Amish pie crust provides a buttery, flaky foundation that can’t be beat by a hastily rolled dough. Look for a crust that’s already rolled and refrigerated; it saves you time and guarantees that perfect golden edge. If you’re feeling adventurous, you can make your own crust using 1 ½ cups flour, ½ cup cold butter, and a splash of ice water, but that adds another layer of work. The crust’s role is to hold the filling without becoming soggy, so a quick blind‑bake is essential.
Everything's prepped? Good. Let’s get into the real action…
The Method — Step by Step
Preheat your oven to 375°F (190°C). While the oven warms, place the Amish pie crust on a parchment‑lined baking sheet. Use a fork to prick the bottom a few times—this prevents bubbling. I dare you to watch the crust turn a light amber; that’s the signal it’s ready for the next stage.
Blind‑bake the crust: line it with parchment paper, fill with pie weights or dried beans, and bake for 12‑15 minutes. Remove the weights and parchment, then bake an additional 5 minutes until the edges are golden and slightly fragrant. That sizzle when it hits the pan? Absolute perfection.
Kitchen Hack: If you don’t have pie weights, use a handful of uncooked rice; it does the job just as well.While the crust cools, whisk together the instant vanilla pudding mix, milk, and smooth peanut butter in a large bowl. The mixture should be smooth, with no lumps—think of a glossy river of gold. Let it sit for 5 minutes; it will thicken, turning into a luxurious custard.
In a separate chilled bowl, beat the fresh whipped cream with powdered sugar until soft peaks form. The cream should be airy but still hold its shape, like a cloud ready to drift over the pie. Fold the whipped cream gently into the pudding‑peanut butter mixture, preserving as much air as possible.
Now for the crumble: In a skillet over medium heat, melt 2 tablespoons butter, then stir in 1 cup breadcrumbs and 1 cup peanut butter crumble mixture. Toast until the crumbs turn a deep, nutty brown and release a fragrant aroma. This step is where the magic happens; the crunch will surprise every bite.
Watch Out: Do not let the crumble burn; it turns bitter in seconds. Keep stirring and remove from heat as soon as it’s golden.Pour the creamy filling into the cooled crust, smoothing the top with a spatula. The surface should be glossy and even, like a calm lake at sunrise. Sprinkle the toasted crumble generously over the top, pressing lightly so it adheres.
Refrigerate the pie for at least 2 hours, preferably overnight. This chilling period allows the filling to set firmly while the flavors meld into a harmonious whole. If you’re impatient, a quick 30‑minute chill will still work, but the texture will be a bit softer.
Before serving, garnish with a drizzle of melted peanut butter and a few extra crumble shards for visual drama. Slice with a warm knife—run it under hot water for 10 seconds and wipe dry to get clean cuts.
Kitchen Hack: Warm your serving plates for 30 seconds before plating; the warm plates keep the crumble from softening too quickly.
That's it — you did it. But hold on, I've got a few more tricks that'll take this to another level…
Insider Tricks for Flawless Results
The Temperature Rule Nobody Follows
Never fill a hot crust with a warm filling; the heat will melt the crust’s butter pockets, turning them soggy. Let the crust cool completely (about 15 minutes) before adding the filling. I once tried to speed things up and ended up with a pie that fell apart at the first slice—lesson learned. The rule of thumb: the crust should be room temperature, the filling should be chilled.
Why Your Nose Knows Best
When the crumble is toasting, trust the aroma more than the timer. The moment you smell that deep, nutty scent, pull the pan off the heat. My friend once set a timer for 8 minutes and ended up with burnt crumbs; the smell gave her a warning she ignored. The nose is an underrated kitchen tool—let it guide you.
The 5‑Minute Rest That Changes Everything
After folding the whipped cream into the pudding, let the mixture sit for 5 minutes before pouring it into the crust. This short rest allows the air bubbles to rise, resulting in a smoother, denser set. Skipping this step leads to a watery top layer that looks sad on a beautiful pie. I’ve seen this happen in many home kitchens; a quick pause makes a world of difference.
The Secret of the Warm Knife
A warm knife is essential for clean slices. Run the blade under hot water, dry it, and then cut. This simple trick prevents the creamy filling from sticking and tearing the crust. If you’re serving a crowd, keep a bowl of hot water nearby and dip the knife between cuts.
Layering the Crumble for Maximum Crunch
Instead of dumping the crumble all at once, sprinkle half before chilling and the rest just before serving. This double‑layer method ensures a crunchy top that stays crisp even after refrigeration. A friend tried a single layer and found the crumble soggy after a few hours—double layering solved that problem instantly.
Creative Twists and Variations
This recipe is a playground. Here are some of my favorite ways to switch things up:
Chocolate Swirl
Add ¼ cup melted dark chocolate to the filling before folding in the whipped cream. The chocolate ribbons create a marbled effect and add a bittersweet depth that pairs beautifully with the peanut butter.
Banana Bliss
Fold in 1 cup of mashed ripe bananas into the pudding mixture for a tropical twist. The natural sweetness reduces the need for powdered sugar, and the banana flavor complements the nutty base.
Spiced Autumn
Stir ½ teaspoon of cinnamon and a pinch of nutmeg into the milk before adding the pudding mix. This warm spice profile makes the pie perfect for cozy fall evenings.
Salted Caramel Drizzle
Top each slice with a drizzle of homemade salted caramel. The salty caramel enhances the peanut butter’s natural saltiness, creating a sophisticated flavor contrast.
Vegan Version
Swap the Amish crust for a vegan oat crust, replace dairy whipped cream with coconut whipped topping, and use a plant‑based milk. The result is a dairy‑free delight that still delivers on texture and taste.
Storing and Bringing It Back to Life
Fridge Storage
Cover the pie loosely with foil or a plastic dome and store in the refrigerator for up to 48 hours. The crumble may soften slightly, but a quick re‑crisp in a hot oven (300°F for 5 minutes) revives it.
Freezer Friendly
Wrap the entire pie in a double layer of cling film and then in aluminum foil. Freeze for up to 2 months. When ready to serve, thaw in the fridge overnight and add a fresh drizzle of melted peanut butter before slicing.
Best Reheating Method
Place a tiny splash of milk or water on the surface, cover with foil, and warm in a 300°F oven for 8‑10 minutes. The added moisture steams the filling back to its original silkiness without drying out the crust.