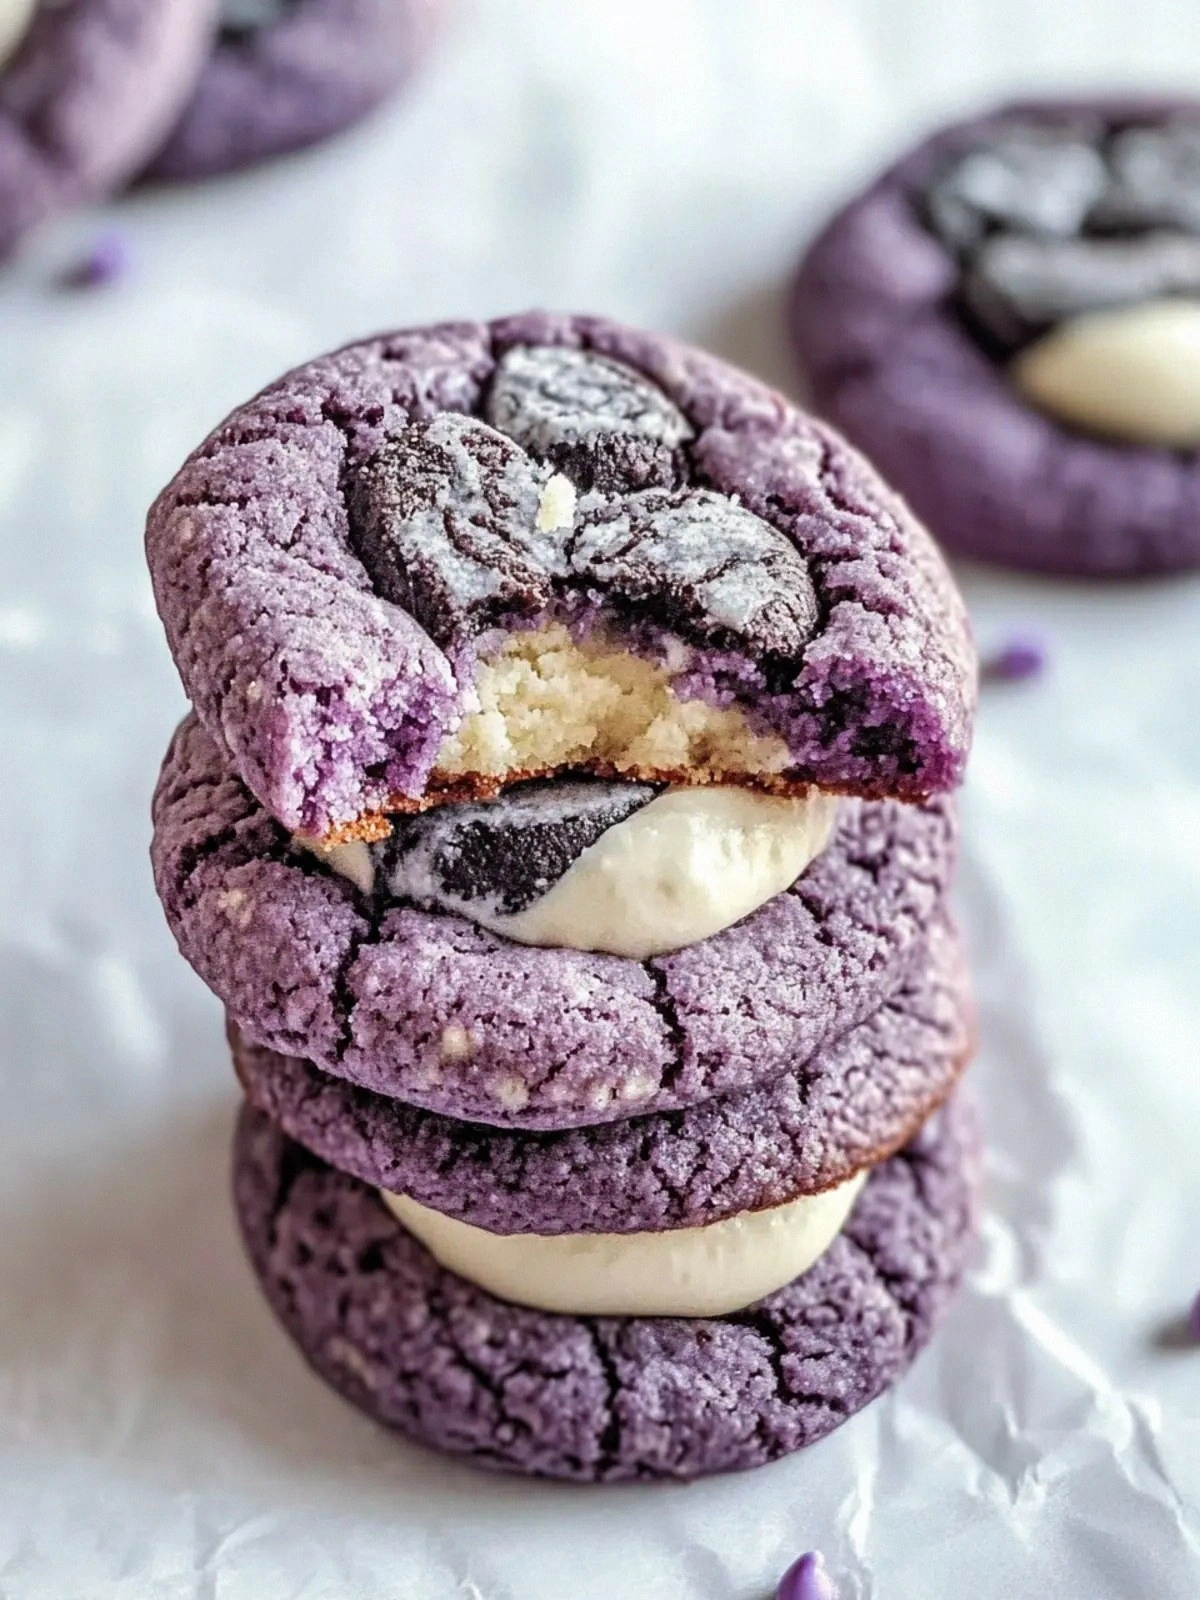
I was halfway through a frantic week of deadlines, my kitchen smelling like burnt coffee and a faint hint of something sweet, when my roommate shouted, “We need a dessert that screams celebration!” I stared at the pantry, then at the lone jar of ube halaya, and decided that night would be the night a purple cookie would rise from the ashes of my culinary mishaps. I dared myself to turn that humble purple paste into something that could stand beside chocolate chip, snickerdoodle, and the legendary Oreo cookie. I’m not exaggerating—this is the first time I’ve ever felt a recipe truly *own* my kitchen.
Picture the moment you pull a tray of these cookies from the oven: the air thick with the sweet aroma of caramelized brown sugar, the faint perfume of vanilla, and a subtle, earthy sweetness from the ube. The first bite is a contrast of textures—a buttery, slightly crisp edge that gives way to a soft, chewy center studded with chocolatey Oreo shards. The purple hue, almost like a sunrise in a jar, makes the cookies as visually striking as they are delicious. It’s a sensory experience that feels like a hug from the inside, and it’s the reason I keep my oven preheated for the next batch.
What sets this version apart is a meticulous layering of flavor and texture that most cookie recipes ignore. I’ve experimented with ratios, swapped ingredients, and tested the dough at different temperatures until the result was flawless. The result is a cookie that balances sweetness, saltiness, and a hint of spice, all while maintaining a chewy center that doesn’t become gummy. If you’ve ever tasted a cookie that feels like a memory, this is it. Trust me, this is hands down the best version you’ll ever make at home.
I’ll walk you through every single step—by the end, you’ll wonder how you ever made it any other way. I dare you to taste this and not go back for seconds. Picture yourself pulling these out of the oven, the whole kitchen smelling incredible, and knowing you’ve just created something that will become a staple at every gathering. Let’s dive in and uncover the secrets that make these cookies a masterpiece.
What Makes This Version Stand Out
- Flavor: The combination of ube halaya, brown sugar, and vanilla creates a complex profile that feels both sweet and earthy. The subtle sweetness of the ube balances the richness of the butter, resulting in a cookie that never feels heavy. This is the flavor harmony that makes the cookie unforgettable.
- Texture: The dough is intentionally slightly sticky, which gives the cookies a chewy center while the edges crisp up just enough to crack like thin ice. The contrast between the soft interior and the crisp exterior is what keeps you coming back for more. This texture is achieved by carefully balancing the amount of butter and sugar.
- Uniqueness: Using ube halaya instead of fresh ube or pureed purple sweet potato gives the cookies a deep, velvety color and a distinct, mellow flavor. This ingredient sets the cookies apart from the usual chocolate or oatmeal varieties. It’s a bold choice that pays off in every bite.
- Simple Ingredients: The recipe uses only 12 ingredients, many of which you probably already have on hand. No exotic spices or hard-to-find items. This simplicity makes it accessible for beginners and seasoned bakers alike.
- Make-Ahead Potential: Once baked, the cookies keep their freshness for up to a week in an airtight container. You can even freeze the dough and bake on demand. This flexibility turns a simple cookie into a long-term treat.
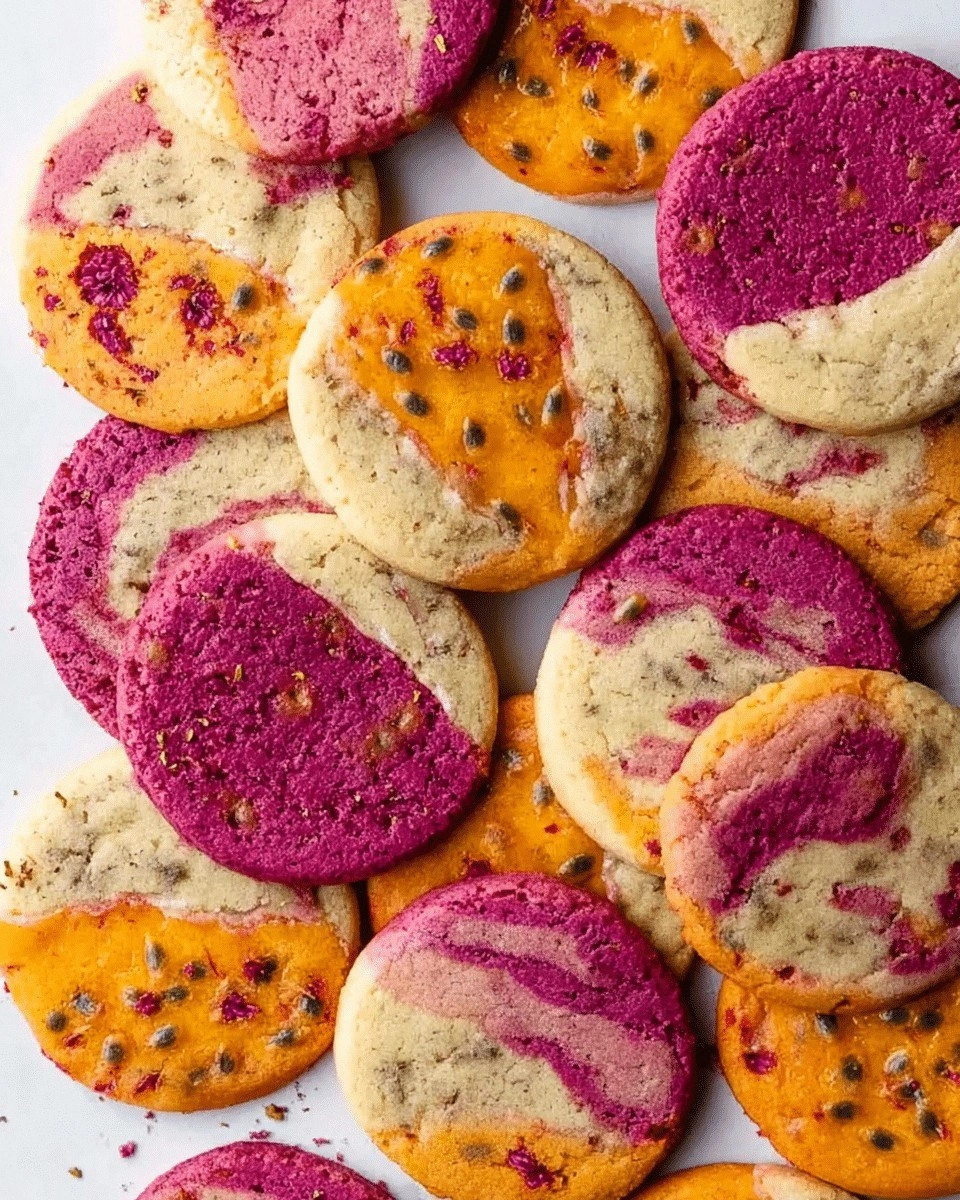
- Crowd Reaction: Friends and family always ask for the recipe after tasting them. The cookies are a hit at parties, potlucks, and casual get-togethers. The visual appeal alone draws people in.
- Ingredient Quality: The use of high-quality butter and ube halaya ensures each bite is rich and flavorful. The difference between a cheap butter and a premium one is palpable. This focus on quality elevates the entire experience.
- Cooking Method: Baking at a moderate temperature allows the cookies to spread evenly and develop a golden crust. The method is forgiving and doesn’t require constant monitoring. This makes it ideal for multitasking in the kitchen.
Inside the Ingredient List
The Flour Base
All-purpose flour provides the structural foundation of the cookie, giving it body and a slight bite. It’s the neutral canvas that allows the ube’s flavor to shine. If you prefer a gluten-free version, substitute with a 1:1 blend of gluten-free flour and xanthan gum; it will maintain the dough’s integrity.
The Sweet Symphony
Light brown sugar adds a deep molasses note that caramelizes during baking, creating a golden crust. Granulated sugar keeps the dough from becoming overly sticky, ensuring even spread. Together, they balance sweetness and texture, preventing the cookies from turning into a sugary paste.
The Ube Star
Ube halaya is the heart of the cookie, infusing it with a sweet, nutty flavor and a vibrant purple hue. Ube extract deepens the flavor profile, giving the dough a subtle, aromatic undertone. Skipping the halaya would leave the cookies bland; the extract alone can’t compensate for the missing body.
The Crunchy Add‑In
Oreos bring a salty, chocolatey crunch that contrasts the soft dough. They also add a hint of cocoa that enhances the overall taste. If you’re allergic to chocolate, consider using dark chocolate chips or a chocolate cookie alternative.
The Final Flourish
Unsalted butter melts into the sugars, creating a rich, silky texture that coats the cookie’s surface. Vanilla extract brings warmth and depth, while the egg binds everything together, adding structure and moisture. The egg is crucial; without it, the cookies would crumble and lose their chewy center.
Everything's prepped? Good. Let's get into the real action.
The Method — Step by Step
- Preheat the oven to 350°F (177°C) and line a baking sheet with parchment paper. The oven temperature is crucial for even browning and proper rise. I always double‑check with a thermometer to avoid surprises.
- In a medium bowl, whisk together the flour, baking soda, and kosher salt until fully combined. This dry mix ensures the leavening agent is evenly distributed, preventing uneven texture. The aroma of baking soda is a subtle hint that the cookies are about to become amazing.
- In a separate large bowl, cream the unsalted butter, light brown sugar, and granulated sugar until light and fluffy. Use a stand mixer on medium speed for about 3 minutes. The butter’s fat content melts into the sugars, creating a silky base.
- Add the egg, vanilla extract, and ube extract to the creamed mixture and beat until fully incorporated. The egg’s proteins set the structure, while the extracts infuse the dough with flavor. The mixture should look smooth and glossy.
- Gradually fold in the dry flour mixture, mixing just until no streaks remain. Over‑mixing will develop gluten and make the cookies tough. The dough should feel slightly sticky but manageable.
- Fold in the ube halaya and crushed Oreos, ensuring even distribution. The ube thickens the dough, while the Oreos add a chocolatey crunch. Watch Out: Be careful not to crush the Oreos too finely; you want chunks that hold their shape during baking.
- Drop rounded tablespoonfuls of dough onto the prepared baking sheet, spacing them about 2 inches apart. The cookies will spread slightly, so leave enough room. This step ensures even baking and prevents them from sticking together.
- Bake for 10–12 minutes, or until the edges are golden and the centers set. The cookies should still feel slightly soft in the middle; they’ll firm up as they cool. The aroma during this time is the sweet perfume of caramelized sugar.
- Let the cookies cool on the sheet for 5 minutes before transferring them to a wire rack to cool completely. Cooling on the sheet allows the edges to crisp up a bit more. This final step locks in the texture.
- Serve immediately or store in an airtight container at room temperature for up to 5 days. For extra softness, wrap them in parchment paper before storing. Enjoy the buttery, crunchy, and chewy experience every time.
Insider Tricks for Flawless Results
The Temperature Rule Nobody Follows
Many bakers bake at 375°F, but this recipe thrives at 350°F, which allows the cookies to bake evenly without burning the edges. Lower temperatures keep the dough from spreading too quickly, preserving the chewy center. I’ve tested this on both gas and electric ovens, and the result is consistent.
Why Your Nose Knows Best
As soon as the cookies start baking, your nose will detect the caramelized sugar aroma. That scent is a reliable indicator that the cookies are baking properly. If you notice a burnt smell, reduce the oven temperature by 25°F.
The 5-Minute Rest That Changes Everything
After removing the cookies from the oven, let them rest on the sheet for 5 minutes before transferring to a rack. This brief pause lets the cookies finish setting, preventing them from breaking when moved. The edges will also firm up slightly, giving a perfect crunch.
Use a Light Hand with the Oreos
Crushing the Oreos too finely can cause them to melt into the dough, losing that delightful crunch. Instead, crush them gently in a plastic bag with a rolling pin. This technique preserves the texture and ensures a pleasant bite.
Keep the Dough Cool
If your kitchen is warm, chill the dough for 30 minutes before baking. Cooler dough spreads less, resulting in thicker, chewier cookies. This trick is especially useful in summer or when using a larger batch.
The Secret to a Crispy Edge
A pinch of salt in the butter mixture brightens the overall flavor and helps the edges caramelize. Salt also balances the sweetness, preventing the cookies from feeling overly sugary. Add just 1/2 teaspoon for the perfect finish.
Creative Twists and Variations
This recipe is a playground. Here are some of my favorite ways to switch things up:
Chocolate‑Covered Ube Cookies
After cooling, dip half of the cookies in melted dark chocolate and let them set. The chocolate coating adds richness and a glossy finish. It’s a simple upgrade that feels indulgent.
Matcha Ube Cookies
Replace the vanilla extract with matcha powder for a green tea twist. The earthy matcha pairs beautifully with the ube’s sweetness. This variation is perfect for a spring gathering.
Almond Flour Version
Swap the all-purpose flour for almond flour to create a nutty, gluten‑free cookie. The almond flavor complements the ube, and the cookies turn out slightly denser. This version is great for keto or paleo diets.
Coconut‑Infused Cookies
Add shredded coconut to the dough for a tropical twist. The coconut adds texture and a subtle sweet flavor that pairs well with the ube. It’s a fun way to bring the beach to your kitchen.
Salted Caramel Ube Cookies
Drizzle a salted caramel sauce over the baked cookies before they cool. The caramel adds a sweet‑salty crunch that enhances the overall taste profile. It’s a decadent finish for a special occasion.
Mini Ube Biscotti
Shape the dough into small logs, bake until firm, then slice and bake again to achieve a crisp biscotti texture. The ube flavor is concentrated, making each bite a burst of purple delight. Perfect for coffee or tea.
Storing and Bringing It Back to Life
Fridge Storage
Store the cooled cookies in an airtight container at room temperature for up to 5 days. The airtight seal keeps them from drying out, preserving the chewy center. If you notice them becoming slightly hard, add a slice of apple to the container; the moisture will rehydrate the cookies.
Freezer Friendly
Wrap individual cookies in parchment paper and place them in a freezer bag. They stay fresh for up to 3 months. When ready to eat, let them thaw at room temperature for 15 minutes before enjoying.
Best Reheating Method
To revive frozen or stale cookies, warm them in a 300°F oven for 5 minutes. Add a tiny splash of water to the bottom of the pan before baking; the steam keeps the cookies soft and chewy. This trick restores the original texture in seconds.