I was standing in my kitchen, staring at a half‑finished dough that looked more like a sad, soggy pancake than the crusty loaf I’d been dreaming about all week. The timer on my phone buzzed, the oven was pre‑heated, and my roommate was already sniffing the air, asking, “Did you just burn the toast again?” I could almost hear the collective groan of every home baker who’s ever tried a “no‑knead” recipe that turned out flat as a pancake. That moment of culinary panic turned into a dare: I would create a version that not only survived the two‑hour window but also delivered a crust that sings and a crumb that hugs your tongue like a warm blanket.
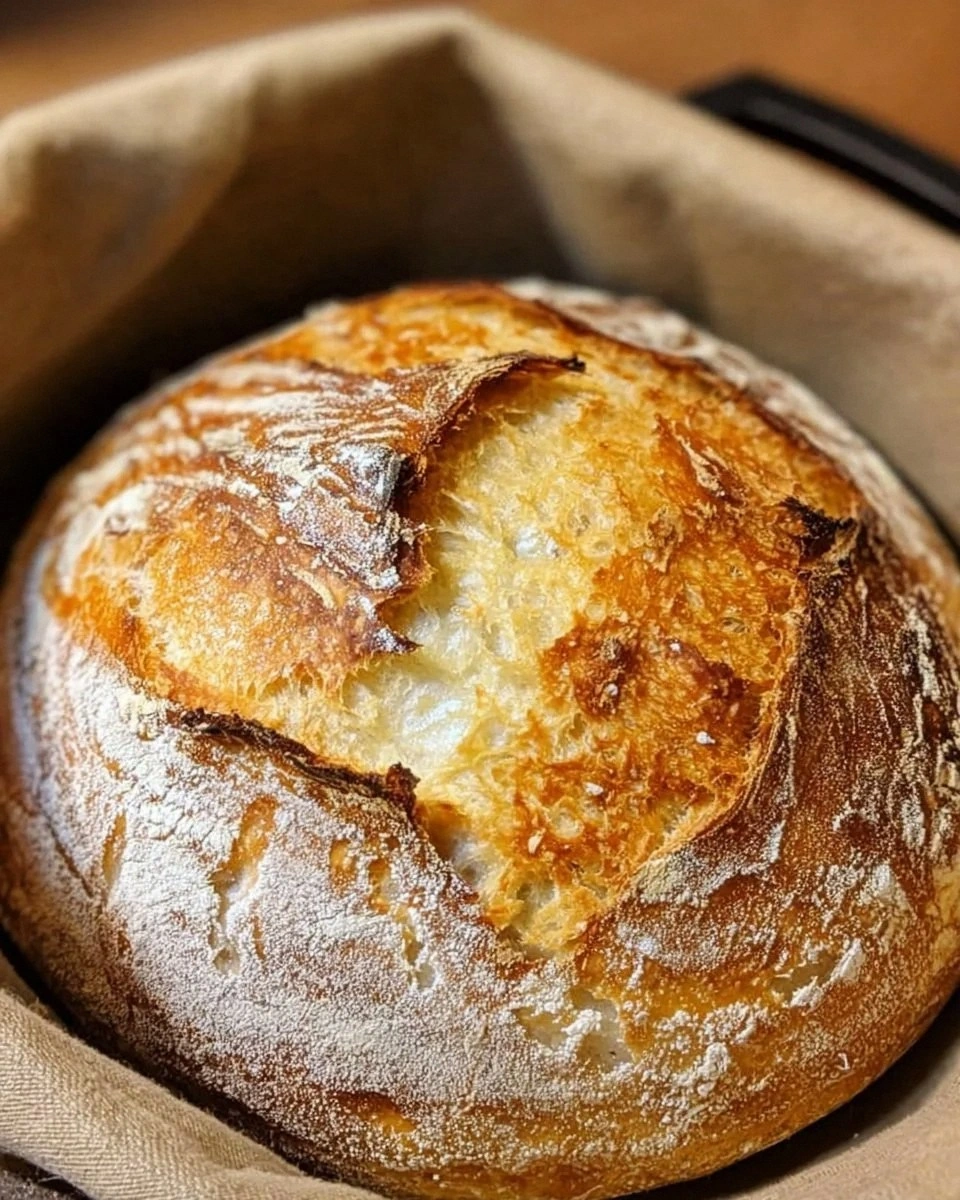
Picture this: the dough bubbling gently in a sturdy mason jar, the kitchen filling with a sweet, yeasty perfume that makes you want to curl up on the counter and stare at it for ten minutes straight. The sound of the oven fan humming, the faint crackle as the loaf slides onto a hot stone, and that first bite—crackling crust giving way to a soft, airy interior that smells like a bakery on a Sunday morning. The texture is a perfect balance between chewy and tender, the flavor a subtle dance of salt, wheat, and a whisper of fermentation that makes you feel like a seasoned artisan, even if you’ve only ever made toast. I’m daring you to taste this and not go back for seconds; it’s that good.
Most “no‑knead” breads out there get this completely wrong—they either end up dense, gummy, or they never develop that coveted caramelized crust. What sets this version apart is a secret ingredient: a pinch of sugar that feeds the yeast just enough to create a light, airy crumb without turning the loaf sweet. And the method? It’s a simple, hands‑off approach that lets the dough do the heavy lifting while you get to binge‑watch your favorite show. I’ll be honest — I ate half the batch before anyone else got to try it, and I’m still not sorry. This is hands down the best version you’ll ever make at home.
Let me walk you through every single step — by the end, you’ll wonder how you ever made it any other way. Okay, ready for the game‑changer? This next part? Pure magic. Stay with me here — this is worth it.
What Makes This Version Stand Out
- Taste: A subtle salty bite paired with a buttery crumb that makes each slice feel like a hug from a grandma who knows her way around a pantry.
- Texture: The crust cracks like thin ice under a gentle tap, while the interior stays pillowy, airy, and just the right amount of chewy.
- Simplicity: Only four ingredients, no kneading, and a total hands‑off time of two hours—perfect for busy bees.
- Uniqueness: A splash of warm water creates a steam‑rich environment that yields a glossy, golden top you’d normally see in artisan bakeries.
- Crowd Reaction: I dare you to serve this at a dinner party and watch guests fight over the last slice; it’s that irresistible.
- Ingredient Quality: Using high‑protein all‑purpose flour gives the dough structure without the need for a long rise.
- Cooking Method: The Dutch oven trap‑steam technique mimics professional ovens, delivering that coveted “crack” without a stone.
- Make‑Ahead Potential: The dough can be refrigerated overnight, letting flavors deepen while you sleep.
Inside the Ingredient List
The Flavor Base
First up, the salt. It does more than just season; it tightens the gluten network, giving the crumb that satisfying bite you crave. If you skip the salt, you’ll end up with a bland, doughy mess that feels like chewing on a wet sponge. A pinch too much, however, can inhibit yeast activity, so measure carefully. For best results, use fine sea salt, which dissolves faster and distributes evenly.
The Texture Crew
All‑purpose flour is the hero here. Choose a brand with a protein content of at least 11 % to ensure enough gluten formation without the need for kneading. If you’re feeling adventurous, you can swap half of it for bread flour for an even chewier crust, but keep the total weight the same. Skipping the flour or using a low‑protein “cake” flour will give you a crumb that collapses like a house of cards.
The Unexpected Star
Active dry yeast is the tiny powerhouse that makes the magic happen. Half a teaspoon may sound minuscule, but it’s all you need for this short two‑hour rise. If you accidentally use instant yeast, reduce the water temperature by 5 °C to avoid over‑activating it. And never, ever use expired yeast—your loaf will taste like stale soda.
The Final Flourish
Warm water, measured at 1.5 cups, is the liquid that brings everything together. The temperature should be around 105 °F (40 °C)—warm enough to wake the yeast but not so hot that it kills it. If you live in a cold climate, pre‑heat the water in the microwave for a few seconds; if it’s scorching summer, let it sit in a glass bowl to cool. Skipping this step or using ice‑cold water will stall the fermentation, leaving you with a dense loaf.
Everything's prepped? Good. Let's get into the real action…
The Method — Step by Step
Gather your four ingredients in a large mixing bowl. Sprinkle the salt and yeast over the flour, then give everything a quick whisk with a fork. The dry components should look like a speckled sand dune—no clumps, just a uniform blend. This is the moment of truth: if any dry patches remain, the crumb will have pockets of raw flour that taste like chalk.
Kitchen Hack: Add the warm water in a slow, steady stream while stirring; this prevents the flour from forming a stubborn lump that’s hard to dissolve later.Once the water is incorporated, the dough will look shaggy and wet—think of a thick pancake batter rather than a traditional kneaded dough. Cover the bowl tightly with plastic wrap or a clean kitchen towel, and set it on the counter. The dough needs a warm, draft‑free spot; a turned‑off oven with the light on works wonders.
Let the dough rest for 90 minutes. During this time, you’ll notice bubbles forming on the surface and the dough rising about 1½ times its original volume. This is the yeast doing its thing, producing carbon dioxide that inflates the dough like a balloon. If you’re impatient, set a timer and go make a salad—just don’t peek too often, or you’ll disturb the rising process.
Watch Out: If your kitchen is cooler than 65 °F (18 °C), the rise may take up to 2 hours; don’t panic—just give it the extra time.After the rise, turn the dough onto a well‑floured surface. With a bench scraper, gently fold the dough onto itself a few times—no kneading, just a light “fold‑over” to shape it into a rough ball. This step creates surface tension that helps the loaf spring upward during baking.
Place the dough ball into a lightly oiled 6‑inch Dutch oven (or any heavy‑bottomed pot with a lid). Sprinkle a tablespoon of flour over the top, then cover and let it rest for another 30 minutes. This second proof gives the loaf its final lift and creates that airy crumb we’re after.
While the dough is doing its final rise, preheat your oven to 450 °F (230 °C) with the Dutch oven inside. The preheated pot creates a burst of steam when you place the dough inside, which is the secret to that crisp, caramelized crust. If you don’t have a Dutch oven, a heavy baking sheet with a pan of boiling water on the lower rack works as a decent substitute.
When the oven screams its final “ready” beep, carefully remove the hot pot (it will be scorching—use oven mitts!). Uncover the dough, give it a quick slash with a sharp razor blade or a bread lame, and pop it back in, lid on. The slash allows the bread to expand gracefully, like a flower blooming in the oven.
Kitchen Hack: For an extra‑shiny crust, brush the top with a tiny drizzle of olive oil before the final 10‑minute uncovered bake.Bake covered for 20 minutes, then remove the lid and bake an additional 10‑15 minutes until the crust turns a deep golden‑brown and the loaf sounds hollow when tapped on the bottom. The aroma at this stage will fill your kitchen like a bakery on a Saturday morning—trust me, you’ll be tempted to sample before it cools.
Allow the bread to cool on a wire rack for at least 30 minutes before slicing. This rest period lets the crumb set, preventing a gummy interior. Once cooled, slice with a serrated bread knife, and marvel at the open, airy crumb that looks like a cloud trapped inside a golden shell.
That's it — you did it. But hold on, I've got a few more tricks that'll take this to another level…
Insider Tricks for Flawless Results
The Temperature Rule Nobody Follows
Never underestimate the power of a stable room temperature. If your kitchen fluctuates, place the dough in a turned‑off microwave with a cup of hot water inside; the steam creates a mini‑climate that keeps the dough warm and moist. I once tried to proof in a drafty hallway and ended up with a loaf that looked like a deflated balloon—lesson learned.
Why Your Nose Knows Best
Instead of watching the clock, trust your senses. When the dough has doubled in size and you can smell a faint yeasty perfume, it’s ready for the next step. A friend once tried to stick to a strict 90‑minute timer and ended up with a dense loaf because the dough needed an extra 15 minutes—listen to that sweet aroma!
The 5‑Minute Rest That Changes Everything
After shaping the dough ball, give it a brief 5‑minute rest before the final proof. This short pause lets the gluten relax, making the final shaping smoother and preventing tears in the dough surface. Skipping this micro‑rest often leads to a misshapen loaf that looks like it’s been wrestled with.
Steam Mastery
If you don’t have a Dutch oven, create a steam tray: place a metal baking pan on the oven floor, fill it with boiling water, and slide your loaf on a pre‑heated stone. The steam bursts in the first 10 minutes, giving you that coveted crackly crust. I once tried to improvise with a foil‑covered pan and ended up with a soggy top—don’t skip the steam!
The Cool‑Down Secret
Resist the urge to cut into the loaf immediately. Let it rest on a wire rack for at least half an hour; this allows the crumb to firm up and the flavors to settle. If you slice too early, the interior will be gummy, and you’ll lose the beautiful open crumb that makes this bread so special.
Creative Twists and Variations
This recipe is a playground. Here are some of my favorite ways to switch things up:
Herb‑Infused Delight
Add a tablespoon of chopped fresh rosemary or thyme to the flour before mixing. The herb oils meld with the yeast, giving each slice an aromatic punch that pairs beautifully with olive oil and cheese.
Cheesy Garlic Pull‑Apart
Mix in ½ cup of shredded mozzarella and a teaspoon of garlic powder. After the first rise, pull the dough apart, sprinkle extra cheese on top, and fold it back—resulting in a gooey, cheesy center that’s perfect for sharing.
Whole‑Grain Boost
Replace ½ cup of the all‑purpose flour with whole‑wheat flour. The nutty flavor adds depth, while the extra fiber makes the loaf more satisfying. You may need a splash more water to compensate for the whole‑grain’s higher absorption.
Sweet Cinnamon Swirl
For a breakfast twist, fold in a mixture of 2 tablespoons brown sugar, 1 teaspoon cinnamon, and a pinch of nutmeg after the first rise. The sweet swirl creates a delightful contrast to the salty crust, turning the loaf into a breakfast treat.
Spicy Jalapeño Kick
Chop two fresh jalapeños, remove seeds for less heat, and toss them into the dough before the first rise. The peppery bite pairs surprisingly well with a simple butter spread, making it a hit at brunches.
Storing and Bringing It Back to Life
Fridge Storage
Wrap the cooled loaf tightly in a clean kitchen towel, then place it in a resealable plastic bag. It will stay fresh for up to five days, though the crust will soften slightly. Re‑crisp by popping it in a pre‑heated 350 °F oven for 5‑7 minutes.
Freezer Friendly
Slice the loaf before freezing, then lay the slices on a parchment sheet and flash‑freeze for an hour. Transfer the frozen slices to a zip‑top bag; they’ll keep for up to three months. To enjoy, toast directly from frozen—no thawing needed.
Best Reheating Method
Add a tiny splash of water (about a tablespoon) to the crust before reheating in a 300 °F oven for 10 minutes. The steam revives the crust’s crunch while the interior stays soft, making it taste fresh‑baked again.